
But I am finally back in the kitchen with my eldest sister, Anna's, birthday looming. Birthdays in my family are always exciting occasions, but even more so when said sister has a very cute baby!
Anna's sweet tooth is even more difficult to satisfy than mine, and she requested the most chocolatey decadent cake imaginable.
Ingredients:
For the cake:
450g self raising flour
6tbsp cocoa powder
450g butter
450g caster sugar
8 eggs
For the truffles:
100g good quality dark chocolate
100ml double cream
2-3 tsp of your favorite liqueur (optional)
cocoa powder (to dust)
For the honeycomb:
80g butter
160g caster sugar
80g golden syrup
2tsp bicarbonate of soda
For the frosting:
250ml double cream
300g good quality dark chocolate
20g butter
*NB - I actually didn't follow the stated truffle recipe but used Edd Kimber's Salted Caramel Truffles, as my sister requested. Jeez, she doesn't want much!*
Method:
Preheat the oven to 180 degrees Celsius (fan 160). Grease and line two 20cm round springform cake tins.
Start by making the mixture for the truffles. Place the chopped dark chocolate in a bowl. Heat the cream in a small saucepan until it is almost at boiling point, then remove from the heat and pour over the chocolate. Stir gently until the chocolate has melted, then stir in your chosen liqueur. Pour the mixture into a small, shallow dish, and leave to cool before placing in the fridge to firm up.
Next, make the honeycomb. Line a baking tray with non stick baking paper. Place all the ingredients except the bicarbonate of soda in a pan over a low heat to melt , then very slowly bring to the boil. Boil gently until the mixture turns a deep golden brown honeycomb colour. Do NOT stir the mixture; if it starts to colour more on one side then just give it a gentle swirl.


To assemble the cake, make sure the sponges are level when they are ontop of eachother. Grind half of the honeycomb in a food processor (or beat it up in a sandwich bag with a rolling pin). Place 5 tablespoons of the ganache mixture in a bowl and stir in the ground up honeycomb to give a fairly thick mixture - this will be the filling.

Sandwich the sponges together with the honeycomb chocolate filling, then use the remaining ganache to cover the top and sides of the cake.
Finally, finish the truffles. Dust your hands with some cocoa powder, hen take teaspoon sized amounts of the truffle mixture and roll into small balls, until all the mixture has been used. Dust the balls with cocoa powder. Decorate the cake with the truffles and honeycomb.

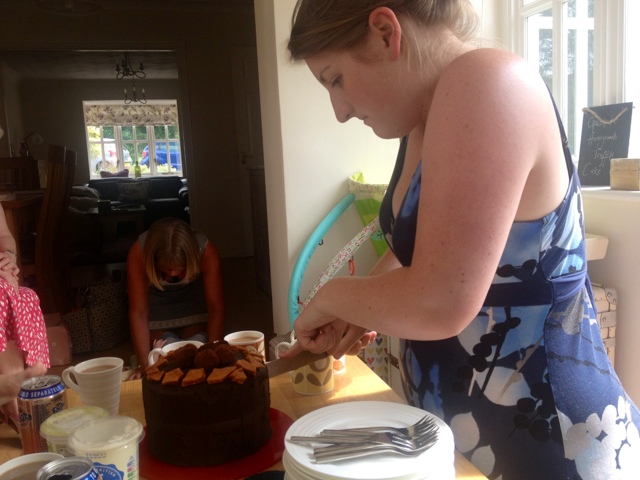
Please admire my new slate board (which I definitely shouldn't be so excited about). I purchased it at Gloucester Quays Food Festival this weekend, which I shall tell you all about soon! Here's a photo of Anna slicing into this glorious creation; I assure you that very little now remains!

If I were to make this cake again (which I probably will!), I think i'd substitute some of the dark chocolate in the ganache with milk chocolate to make it a little less rich. And I would definitely invest in some crunchies (one for the cake, two for me...) to crumble over top!
If you like the look of this then you'll definitely like this Salted Caramel Chocolate Cake and these gooey Salted Caramel Brownies.
No comments:
Post a Comment